

First Light on the Trail: A Beginner’s Himalayan Moment
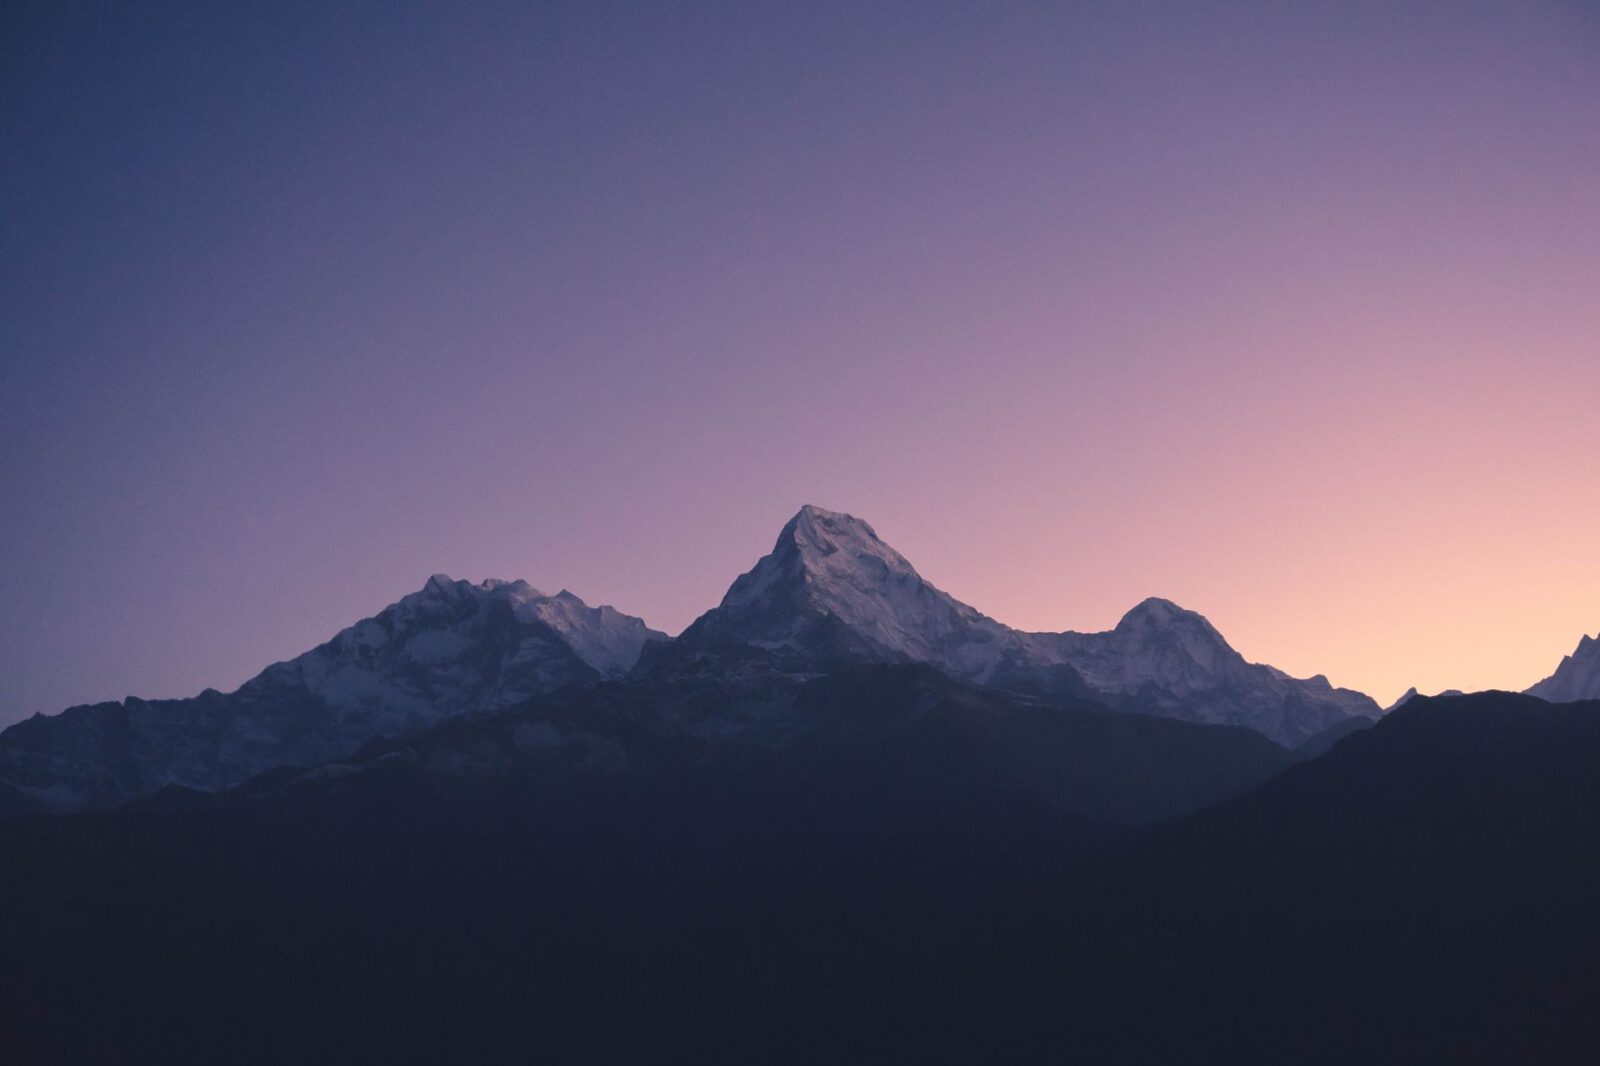
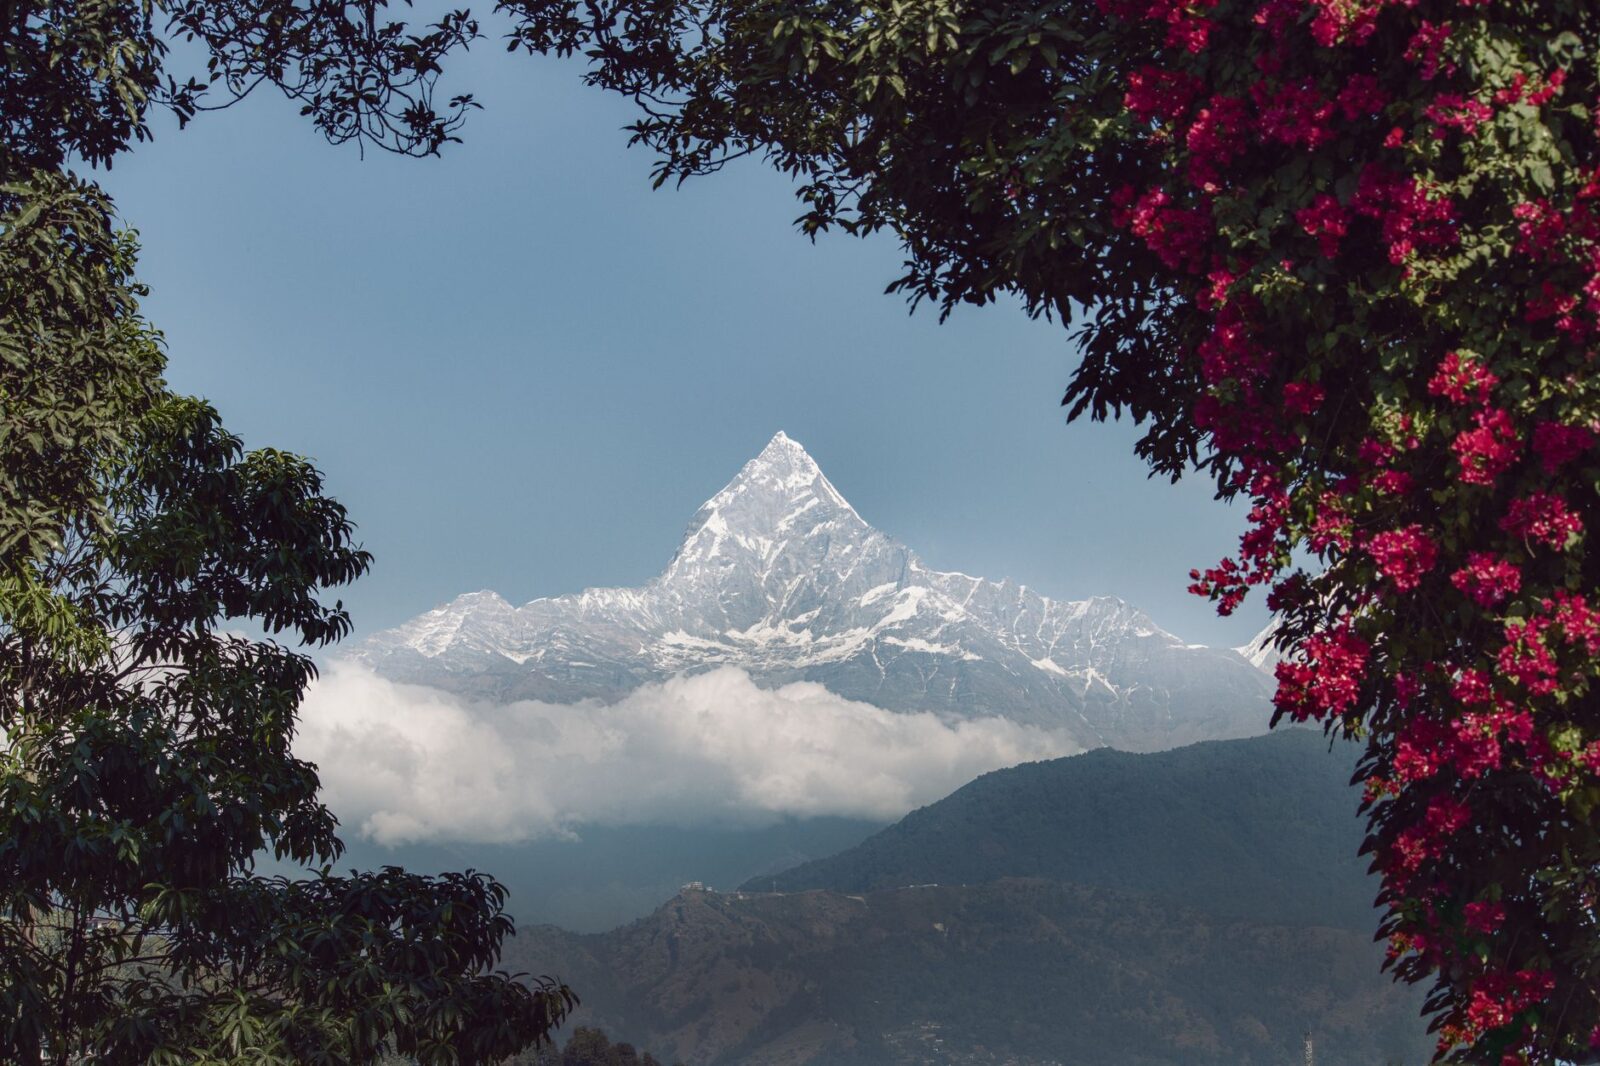
Imagine standing on a narrow ridge as the first rays of sun strike the snow‑capped summit of Machapuchare, turning the peak a fiery gold. Below, terraced fields ripple like green waves, and the distant chime of a monastery bell drifts on the cool morning air. This is the reward that awaits those who take their first steps onto a Himalayan trail, where every breath feels thinner yet richer, and the mountains whisper encouragement. For many, this moment becomes the spark that turns a casual hike into a lifelong love of high‑altitude walking.
Why Nepal’s Beginner Treks Are Perfect for First-Timers
Nepal offers a unique combination of accessible infrastructure, well‑marked trails, and a culture that welcomes trekkers with warm hospitality. The country’s trekking routes are designed to accommodate varying fitness levels, with many paths that require no technical climbing gear or prior high‑altitude experience. Most beginner treks max out below 4,500 meters, reducing the risk of severe altitude sickness while still delivering jaw‑dropping panoramas of peaks like Annapurna, Langtang, and Everest. Additionally, the abundance of teahouses means you can sleep under a roof and enjoy hot meals without carrying a heavy pack.
Route 1: Ghorepani Poon Hill Trek – Classic Sunrise Panorama
The Ghorepani Poon Hill trek is often called the gateway to the Himalayas for good reason. It typically takes 4–5 days to complete, with a maximum altitude of 3,210 meters at Poon Hill itself. The trail winds through rhododendron forests, traditional Gurung villages, and terraced farmland, offering a gentle introduction to mountain walking. Fitness requirements are modest: you should be comfortable walking 5–7 kilometers per day with a light daypack.
Day‑by‑Day Itinerary
- Day 1: Drive from Pokhara to Nayapul (≈1.5 hours), then trek to Tikhedhunga (≈4 km, 1,540 m).
- Day 2: Trek Tikhedhunga to Ghorepani via Ulleri (≈10 km, ascent to 2,860 m).
- Day 3: Early morning hike to Poon Hill for sunrise (≈2 km round‑trip, 3,210 m), then descend to Tadapani (≈6 km, 2,630 m).
- Day 4: Trek Tadapani to Ghandruk (≈5 km, 1,940 m), then drive back to Pokhara.
Each day involves 3–5 hours of walking, with plenty of time for tea breaks and photo stops. The trail is well‑maintained, and teahouses are plentiful, making logistics straightforward for first‑timers.
Route 2: Langtang Valley Trek – Sacred Lakes and Tamang Culture
Located just north of Kathmandu, the Langtang Valley trek offers a quieter alternative to the more crowded Annapurna and Everest regions. The trek usually spans 7–8 days, reaching a high point of 4,380 meters at Kyanjin Ri. Trekkers walk through lush pine and oak forests, cross traditional wooden bridges, and visit ancient monasteries draped in prayer flags. The route is suitable for those with a moderate fitness level who can handle daily walks of 6–9 kilometers.
Day‑by‑Day Itinerary
- Day 1: Drive Kathmandu to Syabrubesi (≈7‑8 hours, 1,460 m).
- Day 2: Trek Syabrubesi to Lama Hotel (≈11 km, 2,380 m).
- Day 3: Lama Hotel to Langtang Village (≈8 km, 3,430 m).
- Day 4: Langtang Village to Kyanjin Gompa (≈4 km, 3,870 m).
- Day 5: Acclimatization day: hike to Kyanjin Ri (≈5 km round‑trip, 4,380 m) and explore the cheese factory.
- Day 6: Trek back to Lama Hotel (≈15 km).
- Day 7: Lama Hotel to Syabrubesi (≈11 km), then drive to Kathmandu.
The trail’s gradual ascent helps with acclimatization, and the teahouses provide hearty meals of dal bhat, Tibetan bread, and locally produced yak cheese.
Route 3: Mardi Himal Trek – Off‑the‑Beaten‑Path Alpine Views
For trekkers seeking solitude and dramatic close‑ups of the Annapurna massif, the Mardi Himal trek is an excellent choice. It typically takes 5–6 days, with a maximum altitude of 4,500 meters at Mardi Himal Base Camp. The path climbs through dense forests, emerges onto alpine ridges, and offers unobstructed views of Machapuchare, Annapurna South, and Hiunchuli. Fitness requirements are similar to the Poon Hill trek, but the trail includes some steeper sections, so a good level of endurance is beneficial.
Day‑by‑Day Itinerary
- Day 1: Drive Pokhara to Kande (≈1.5 hours), trek to Forest Camp (≈4 km, 2,520 m).
- Day 2: Forest Camp to Low Camp (≈5 km, 2,970 m).
- Day 3: Low Camp to High Camp (≈4 km, 3,580 m).
- Day 4: High Camp to Mardi Himal Base Camp (≈3 km, 4,500 m), then return to High Camp for overnight.
- Day 5: Trek High Camp to Siding Village (≈10 km, 1,750 m), then drive to Pokhara.
Daily walking times range from 3 to 6 hours. The trail sees fewer trekkers than the classic Annapurna Circuit, giving a more intimate mountain experience.
Route 4: Everest View Trek – Glimpse of the Roof of the World
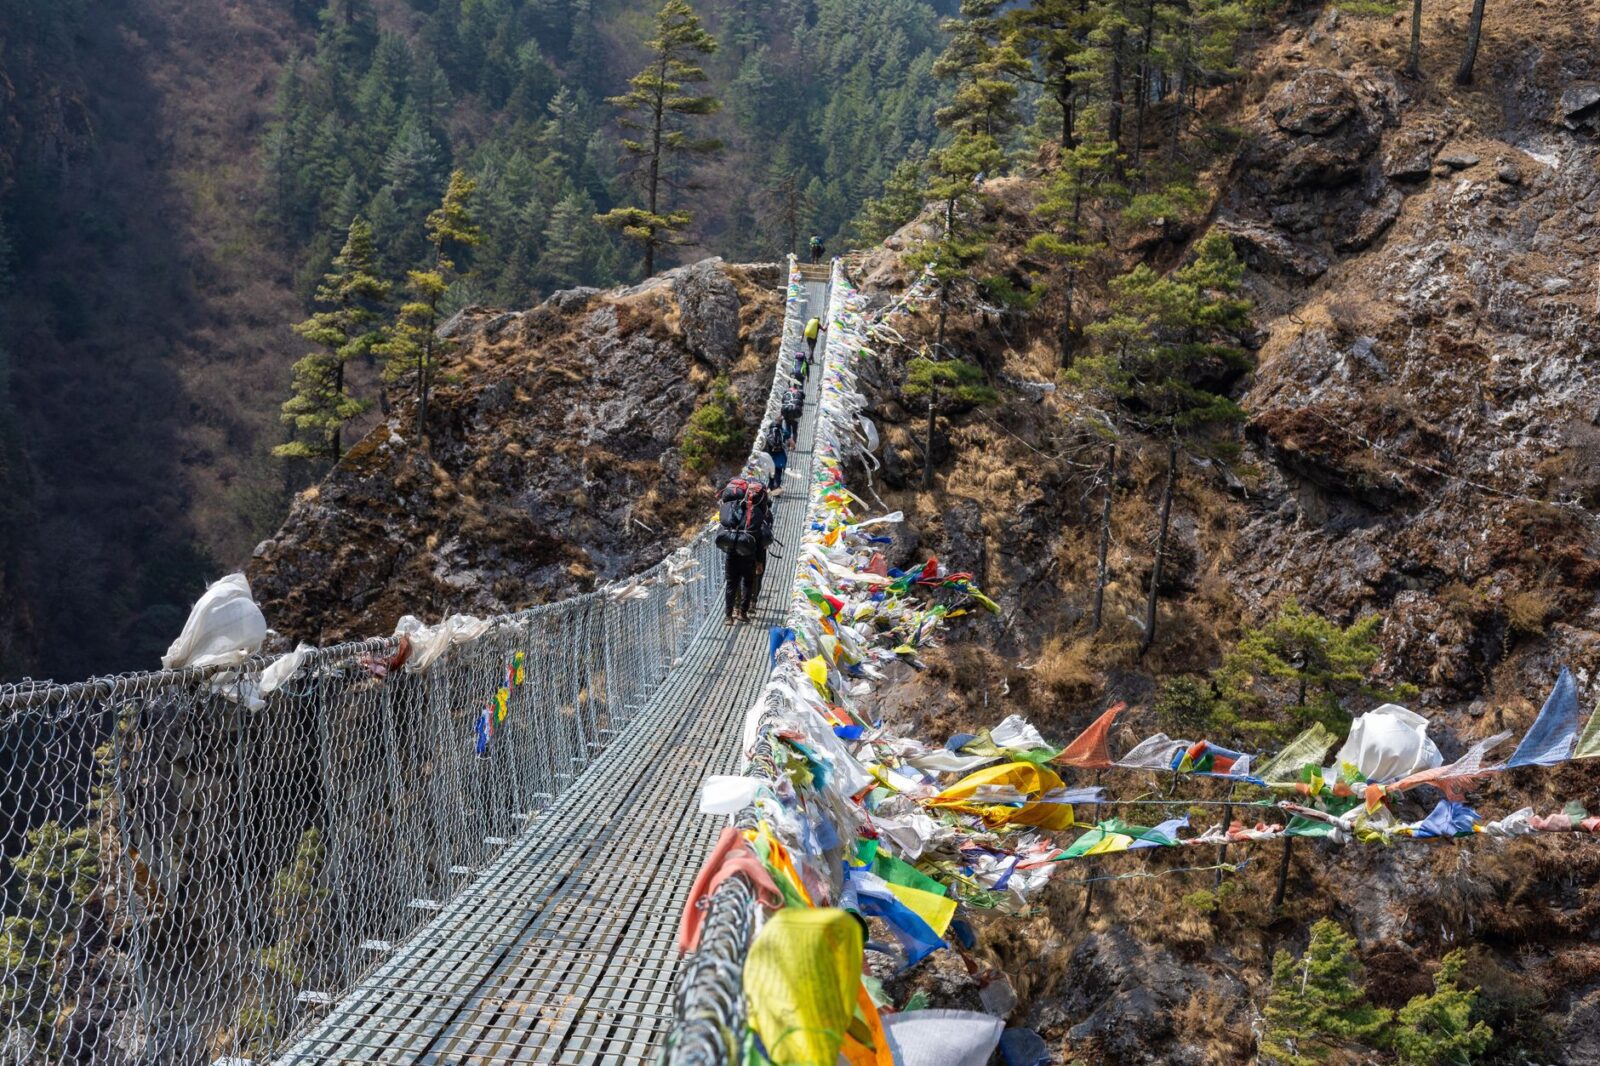
If you dream of seeing Everest without committing to the strenuous Base Camp trek, the Everest View trek delivers the iconic panorama in just 4–5 days. The highest point is usually the Everest View Hotel above Namche Bazaar at about 3,880 meters. The trek follows the well‑trodden route to Namche, passing through Sherpa villages, monasteries, and lush pine forests. It is ideal for trekkers who can manage daily walks of 5–8 kilometers and are comfortable with moderate altitude gains.
Day‑by‑Day Itinerary
- Day 1: Fly Kathmandu to Lukla (≈35 minutes), trek to Phakding (≈8 km, 2,610 m).
- Day 2: Phakding to Namche Bazaar (≈11 km, 3,440 m).
- Day 3: Acclimatization day: hike to Everest View Hotel (≈4 km round‑trip, 3,880 m) and explore Namche.
- Day 4: Trek Namche to Lukla (≈15 km), fly back to Kathmandu.
Each day involves 3–5 hours of walking, with plenty of time to enjoy tea in Namche’s bustling market. The trail is well‑served by teahouses, and the views of Everest, Lhotse, and Ama Dablam are unforgettable.
Planning Your Trek: Seasons, Permits, and Costs
Choosing the right time of year can make or break a beginner’s Himalayan experience. The two main trekking windows are pre‑monsoon (March to May) and post‑monsoon (late September to November). Each season offers distinct advantages and challenges that trekkers should weigh carefully.
Best Seasons with Pros and Cons
- Spring (March–May): Warm days, blooming rhododendrons, and clear mountain views. However, trails can be busier, and occasional afternoon showers occur in May.
- Autumn (September–November): Stable weather, crisp air, and the best visibility for peak photography. Nights start to get cold, especially at higher elevations.
- Monsoon (June–August): Lush greenery and fewer crowds, but trails are slippery, leeches are common, and mountain views are often obscured by clouds.
- Winter (December–February): Solitude and snow‑covered landscapes, but many teahouses close above 3,000 meters, and temperatures can drop well below freezing.
For most beginners, spring and autumn provide the safest and most enjoyable conditions.
Permit Requirements and Costs (USD)
All trekkers in Nepal need a Trekkers’ Information Management System (TIMS) card and the relevant national park or conservation area permit. Fees are set by the government and are payable in USD or Nepali rupees at the trekking agencies’ offices in Kathmandu or Pokhara.
- TIMS Card: $20 per person (individual trekker).
- Annapurna Conservation Area Permit (ACAP): $30 for the Annapurna region (covers Poon Hill and Mardi Himal).
- Langtang National Park Fee: $30 for Langtang Valley trek.
- Sagarmatha National Park Permit: $30 for Everest View trek.
- Garbage Deposit (refundable): Approximately $10, returned upon proof of waste removal.
Thus, a typical Poon Hill trek totals around $80 in permits, while the Everest View trek is about $80 as well. These fees contribute to trail maintenance, waste management, and local community development.
Gear, Guides, and Sustainable Practices on the Trail
Packing the right gear ensures comfort, safety, and respect for the mountain environment. While you do not need technical mountaineering equipment, a thoughtful layering system and sturdy footwear are essential.
Essential Gear List (Tailored to Spring/Autumn)
- Footwear: Broken‑in trekking boots with good ankle support and grippy soles.
- Layering: Moisture‑wicking base layer, insulating fleece or down jacket, waterproof breathable shell.
- Accessories: Warm hat, gloves, sun hat, UV‑blocking sunglasses, and a buff or scarf.
- Backpack: 30‑35 liter daypack with rain cover.
- Sleeping Bag: Rated to –10 °C (14 °F) if you plan to stay in teahouses that provide blankets; otherwise, a lighter bag is fine as most lodges offer warm bedding.
- Other Essentials: Headlamp with spare batteries, reusable water bottle or hydration bladder, water‑purification tablets or filter, sunscreen (SPF 50+), lip balm, personal toiletries, and a small first‑aid kit.
Many trekkers choose to hire a guide and/or porter to enrich the experience and support the local economy. A licensed guide typically costs $25–30 per day, while a porter charges $15–20 per day. Tips are customary: about 10 % of the total guide/porter fee, given at the end of the trek.
Sustainable Trekking Practices
- Carry a reusable water bottle and refill at teahouses; avoid buying single‑use plastic bottles.
- Pack out all non‑biodegradable waste (including used toilet paper) in a zip‑lock bag.
- Stay on marked trails to prevent soil erosion and protect fragile flora.
- Respect local customs: remove shoes before entering homes and temples, dress modestly (shoulders and knees covered), and walk clockwise around Buddhist stupas and prayer wheels.
- Support the community by eating at locally owned teahouses and purchasing handicrafts directly from artisans.
Frequently Asked Questions
1. Do I need prior trekking experience to attempt these routes?
No. The routes described are designed for fit beginners who can walk several hours a day with a light pack. Basic cardiovascular fitness and the ability to handle uneven terrain are sufficient; no technical climbing skills are required.
2. How do I prevent altitude sickness on these treks?
Ascend gradually, stay well‑hydrated (aim for 3–4 liters of water per day), and consider a rest day at intermediate altitudes (e.g., Namche Bazaar or Kyanjin Gompa). Some trekkers take acetazolamide (Diamox) as a preventive measure, but consult a doctor before using medication. If you develop headache, nausea, or dizziness, stop ascending, rest, and descend if symptoms persist.
3. What is the average daily cost on the trail, including food and accommodation?
In teahouses, a dormitory bed typically costs $5–7 per night. Meals are priced around $5 for breakfast, $6–8 for lunch, and $6–9 for dinner. Thus, a realistic daily budget for food and lodging ranges from $16 to $24, depending on appetite and location.
4. Should I buy travel insurance that covers high‑altitude trekking?
Yes. Look for a policy that includes emergency helicopter evacuation up to at least 6,000 meters and covers medical treatment abroad. A comprehensive plan for a two‑week trek usually costs between $90 and $130, providing peace of mind in case of illness or injury.
5. Is it safe to trek alone as a beginner?
While many trails are well‑marked and teahouse‑dense, it is strongly recommended to trek with a guide or at least a companion, especially on your first Himalayan trek. A guide adds navigation support, cultural insight, and assistance in case of emergencies, making the experience safer and more enriching.
Conclusion: Take the First Step
The Himalayas have long beckoned dreamers with their towering peaks and serene valleys, and Nepal’s beginner treks offer a welcoming doorway into that world. Whether you choose the sunrise splendor of Poon Hill, the sacred lakes of Langtang, the quiet ridges of Mardi Himal, or the ever‑present gaze of Everest, each step brings you closer to a landscape that humbles and inspires. With proper preparation, respect for local customs, and a spirit of adventure, your first Himalayan trek can become the foundation of a lifetime of mountain memories. Lace up your boots, pack your sense of wonder, and let the trail lead you forward.
Stay informed with the latest travel news, visa updates, and destination guides. Follow HimalayanCrest.com for weekly travel intelligence delivered by our editorial team.